Remember to enter all mazes with caution and at your own risk, can't guarantee that there will be always be an admin online at the need of help, good luck.
Directions are followed using the keyboard layout. For example U R R, press the up button once then the right button twice.

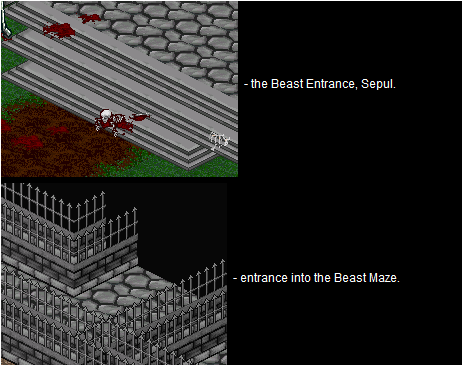
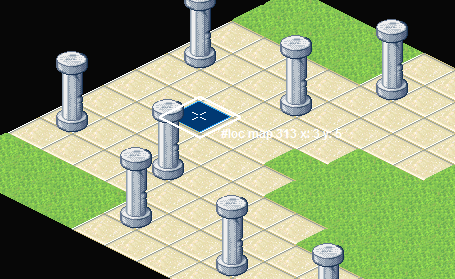
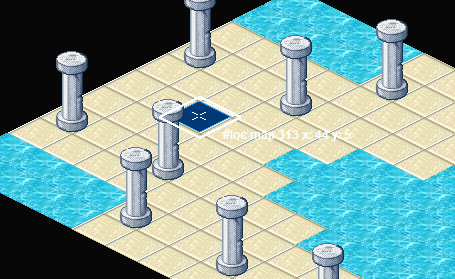
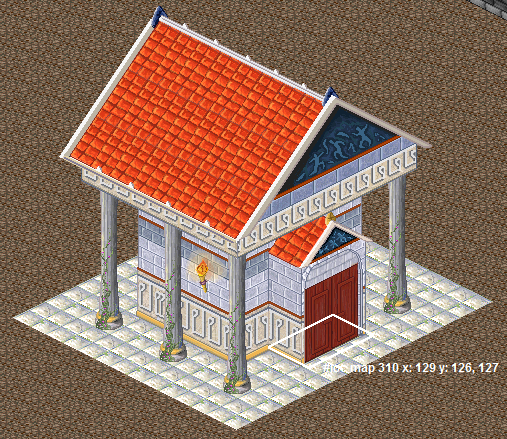
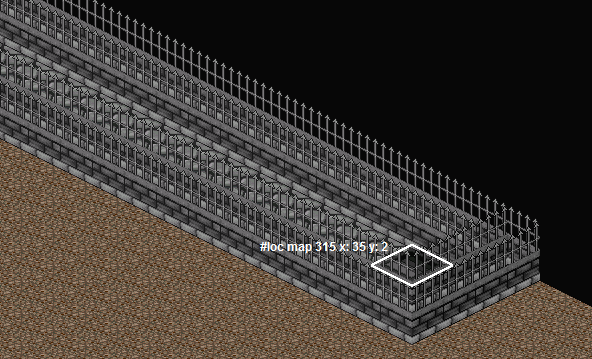
Begins at the Beast Entrance, within Sepul.
Talk to the Beast Master to start the quest.
Walk around and into the maze after talking to the Beast Master.
|
Requirements: Level 10 is the minimum level needed to enter the Beast.
You can get to Sepul using two paths ways, one with a level 10 requirement by going through the Outlands, and a level 15 requirement by going through the Forks Cave.
There is no limit as to how many times you can repeat this quest and earn the experience or costume once completing it.
Reward: 75,000 experience or Vampire or Vampira Costume, depending on your characters gender.
Make sure to leave enough room in your Inventory to receive the costume.
Through the maze you will be given clues on your Quest progress, you can check this by clicking the 'Q' up the top left of the screen. After completing each section of the maze, it is registered with a checkpoint. You will need each checkpoint checked to earn your reward at the end of the maze.
It is a good idea to check regularly that all of the sections have been checked correctly, sometimes lag can cause the checkpoint to not register.
PM an admin if you have that problem.
|
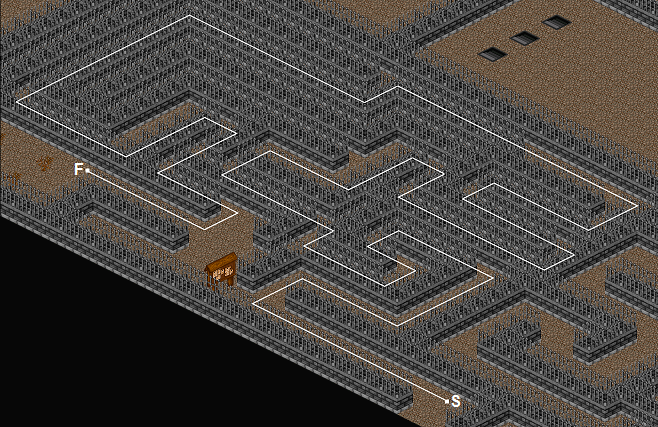
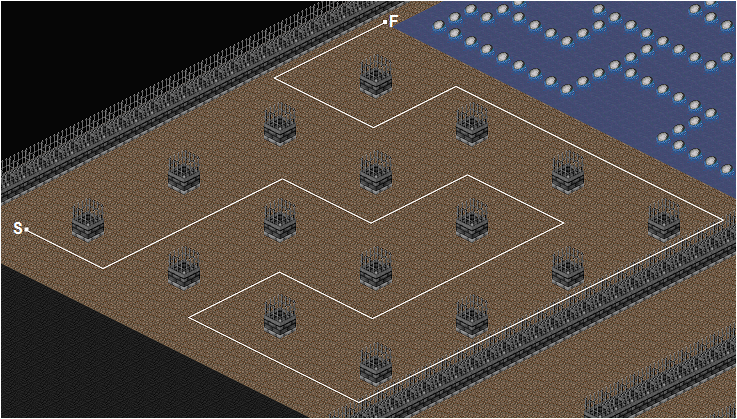
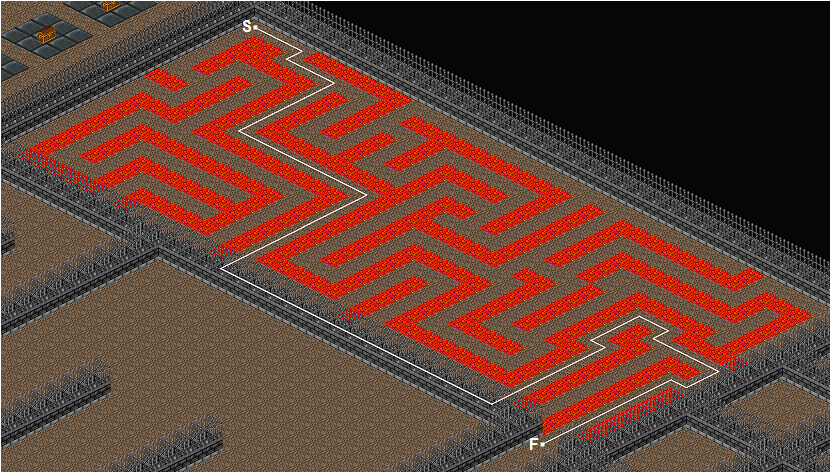
#1 Only the Beginning

From Start, L U R U L D R D L U L U R U R D R U L U R U L D L D R U R D R D L.
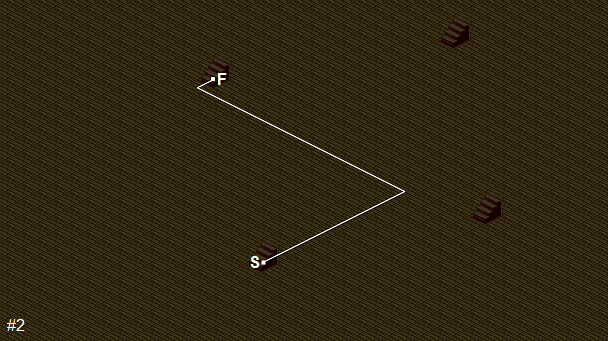
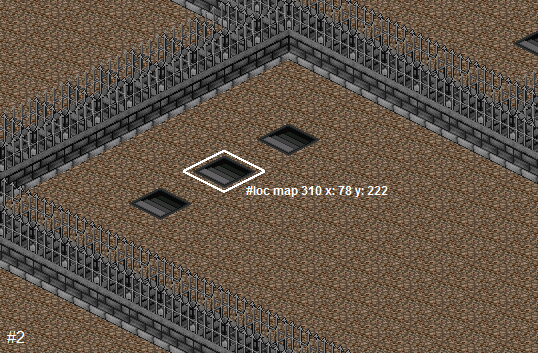
#2 Tricky Switch

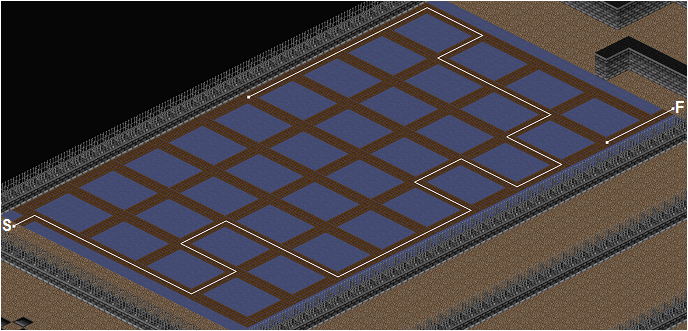
Step on the three dirt tiles to continue through to the next section.
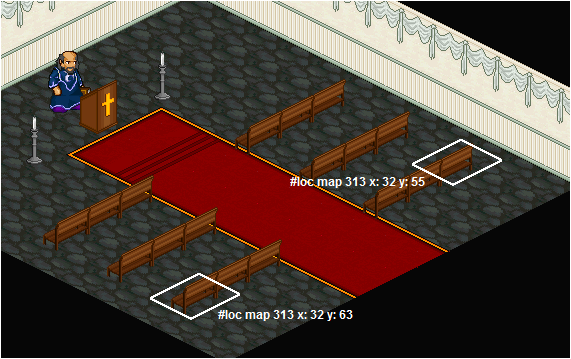
#3 Beast Church

Enter into the church and sit on either of the two benches and wait, you will be warped to the next section.
#4 Walls?

From Start, R U U R U R D D L D R R U U U U L L L D L U.
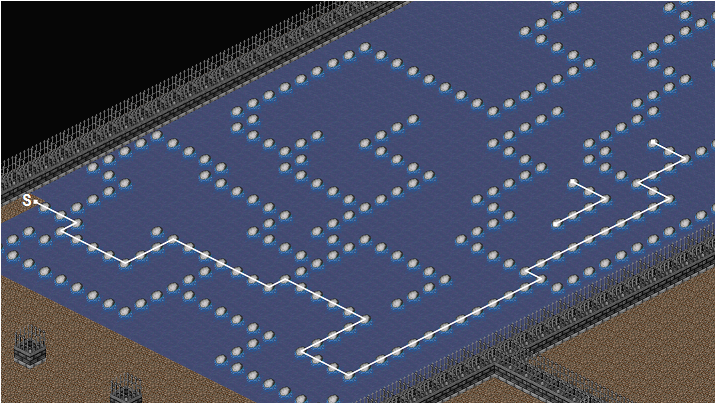
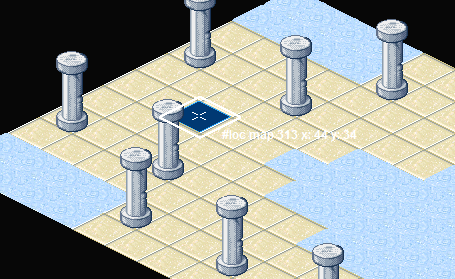
#5 Hop-Rock

From Start, R R R D R R R R U U U R R R R R R U R R R R R D D D D R R R, hold U, L, hold U, L L U U U L L, you will be warped here, continue U U U L L and you will be warped again. From here, continue right and up to the Finish, take the stairs to the right.
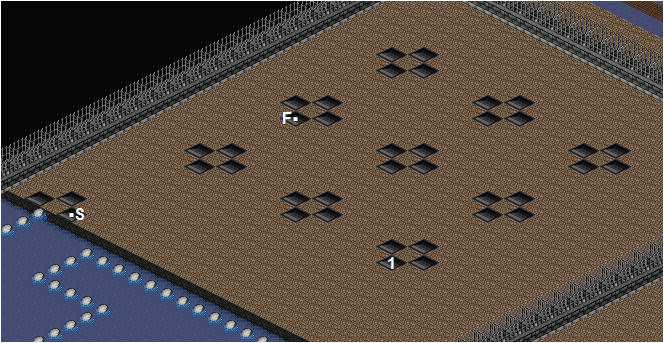
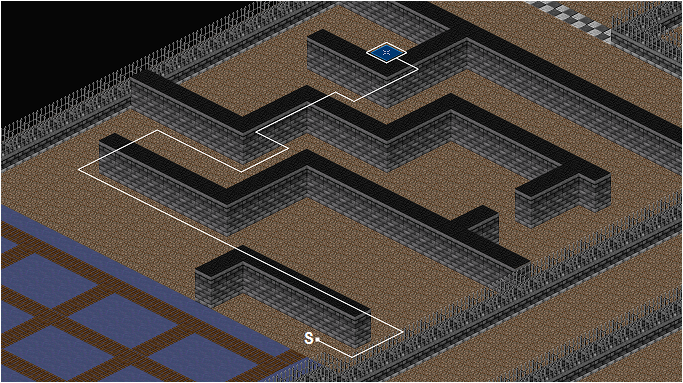
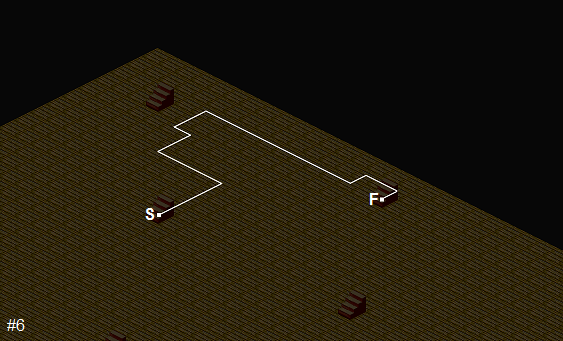
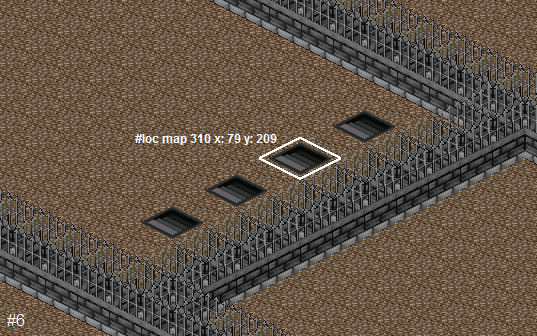
#6 Stair Trap

From Start, D D.
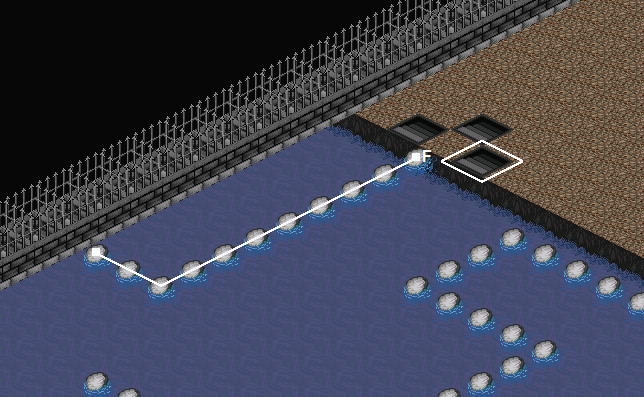
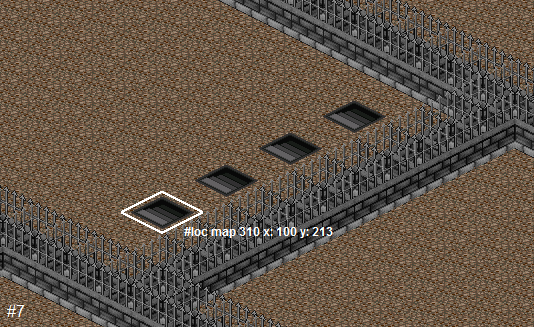
#7 Bad Bridge

From Start, U R R R U L U R R U U U L U R U L U L L U L D D D D, you will be warped here, continue up to Finish.
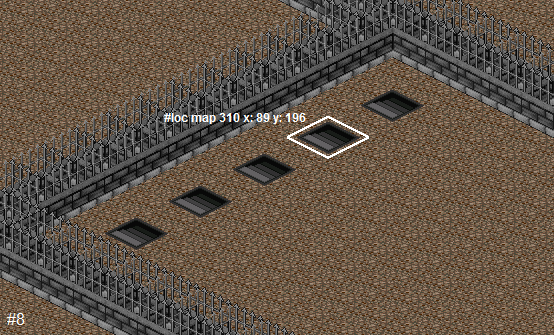
#8 Like a Ninja

From Start, R U L U R U, here you walk left through an invisible wall, continue U R and then up again through another invisible wall. Use the warp tile to continue through to the next section.
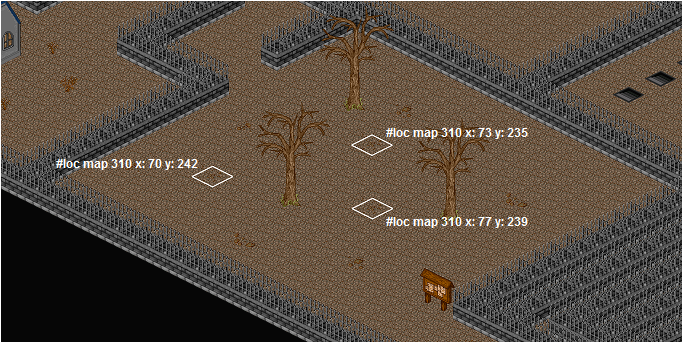
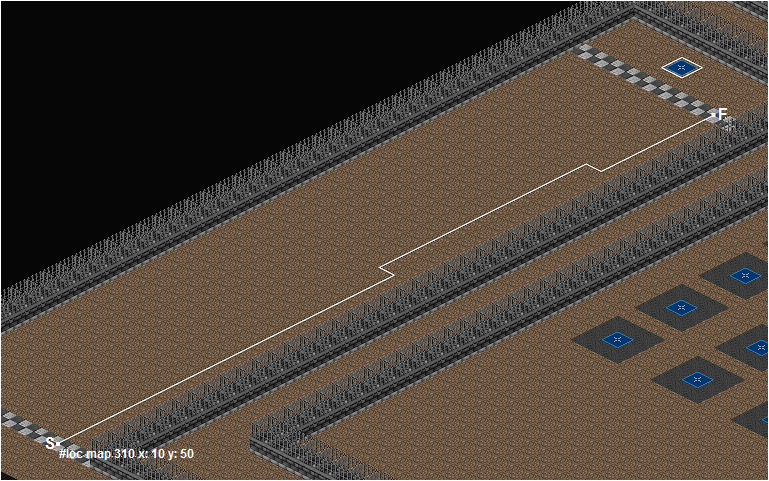
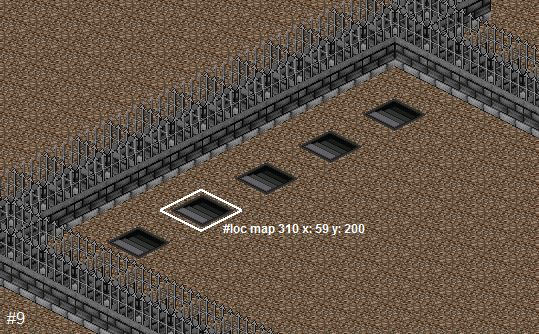
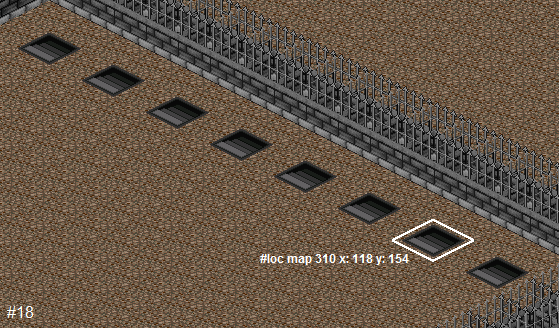
#9 Warp Mines

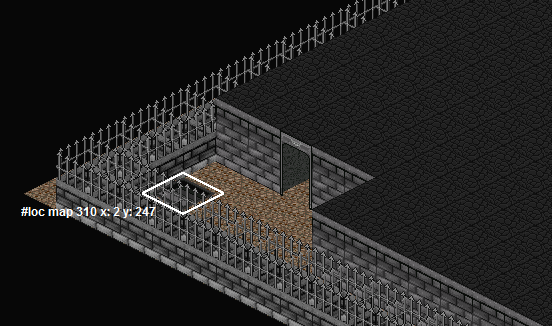
Start point, map 310 x: 10 y: 50 - use #loc to find the point.
From Start, U 21, L, U 13, R, U 7, walk past the finish line and use the warp tile to continue through to the next section.
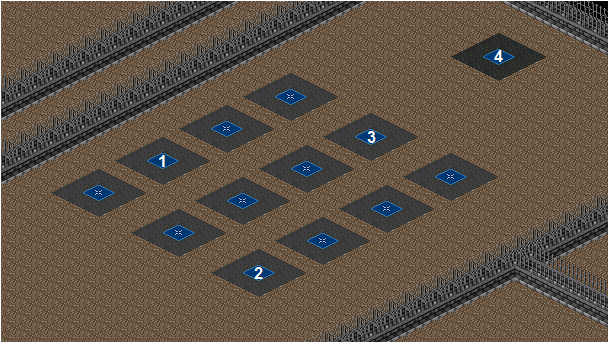
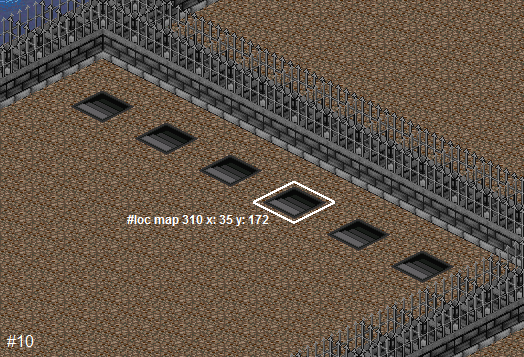
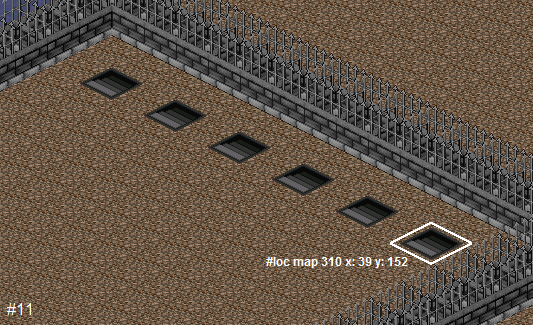
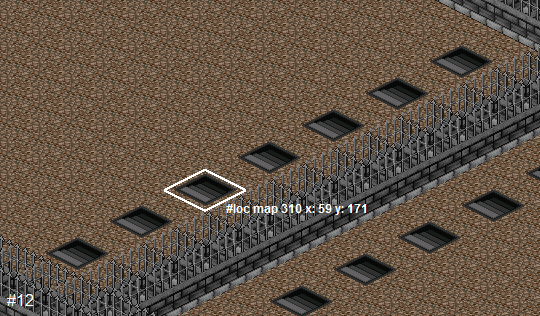
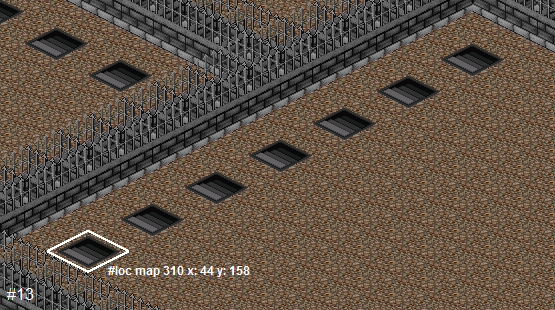
#10 Warp Switch Nightmare

Step on the second switch in the far left row, followed by the first switch in the third row, the fourth switch in the middle row and last the top warp tile to continue through to the next section.
Reminder - make sure you are up to the correct checkpoint, if not just PM an admin for help.
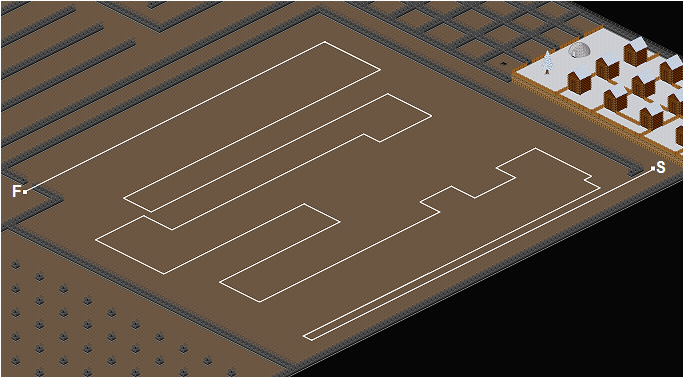
#11 Lava Maze

From Start, R R R D R R R, hold D, hold R, hold D, hold R, hold U, L U U U R R D R R R R D D L D D D D D D D D.
#12 More Like a Ninja

From Start, R R U L U L U R R D R D D R R U U L U R R D D D, use the stairs to continue to the next section.
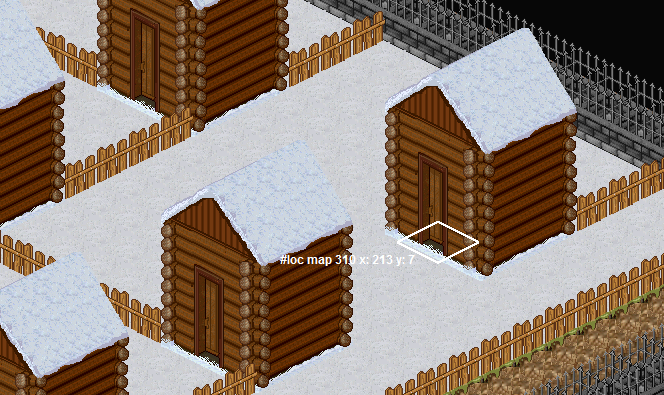
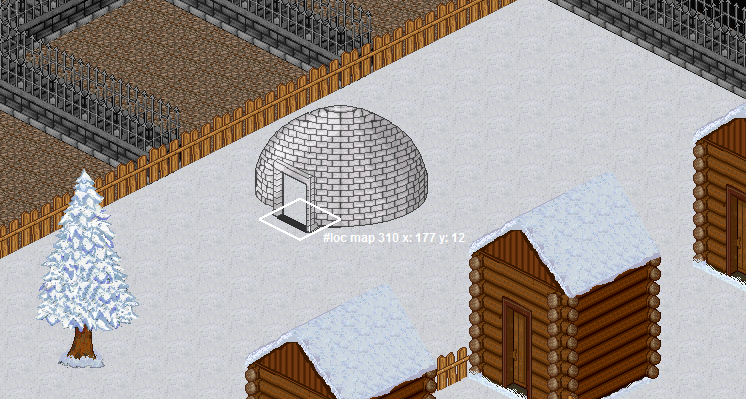
#13 Beast Villa

In this section you will be entering and exiting the houses on the snow, each house is closed in with a fence, you will need to enter into the first house and make your way through each house by using the paths below. At the end of the section there is an igloo, walk into the igloo to continue through to the next section.
#1 From Start, D R R R R R R R U U, hold R, hold D, hold L, hold D, hold L, hold D, hold L, U.
#2 From Start, hold U, L 13, U.
#3 From Start, D, L 11, hold D, hold R, hold U, hold R, hold D, hold R, hold U, R R R R R U U U.
#4 From Start, L, hold U, hold R, U 6, hold R, U 14, L L L U U R U U R R R U U, hold R, hold U.
#5 From Start, R R R U U U R U U R R R U U, hold R, hold U, R R, hold U, hold L, hold D.
#6 From Start, hold U, L L L L U U L U U, hold R, U R R D.
Walk into the igloo to continue through to the next section.
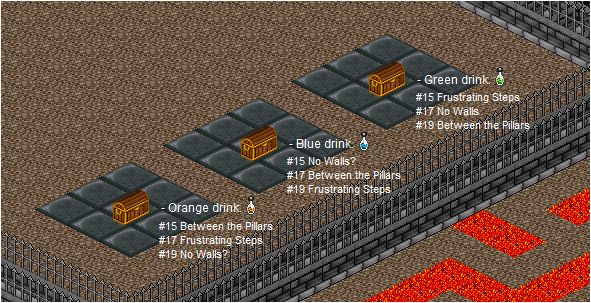
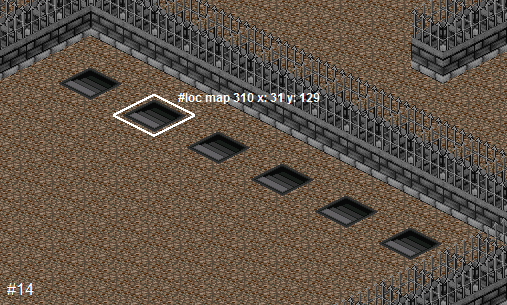
#14 Drink Me

Within each of these chests is a 'Drink Me', an orange, blue and green drink. Each of these three drinks act differently, they will change the order of the sections #15, #17 and #19. So if you are in a group, it is important to consume the same colour drink if you want to stick with each other for the next couple sections. If you have consumed a different colour drink to a party member, you will be able to meet back up at section #21.
The green Drink Me will be used in this guide.
#15 Frustrating Steps

In this section are twenty paths that lead to stairs in which you need to pick the correct to continue. In each part, you will need to walk along the path and take the shown exits.
|
#1 - use the top right stair.
#2 - use the middle stair.
#3 - use the top right stair.
#4 - walk through the middle row and use the stair.
#5 - use the bottom right stair.
#6 - use the stair second from the top right.
#7 - use the bottom left stair.
#8 - use the stair second from the top right.
#9 - use the stair second from the bottom left.
#10 - use the stair third from bottom right.
|
#11 - use the bottom right stair.
#12 - use the stair third from the bottom left.
#13 - use the bottom left stair.
#14 - use the stair second from the top left.
#15 - use the stair second from the bottom left.
#16 - use the bottom left stair in the second row.
#17 - use the bottom left stair in the first row.
#18 - use the stair second from the bottom right.
#19 - use the stair fourth from the top right.
#20 - use the top left stair.
|
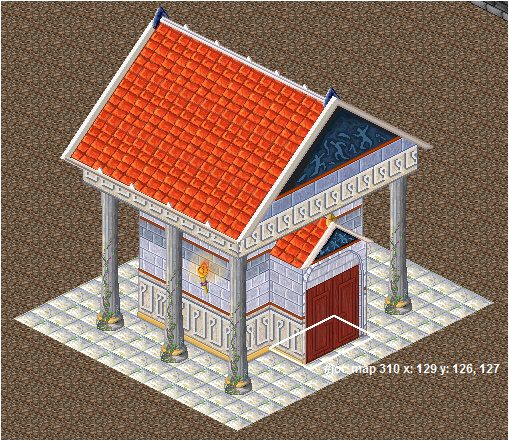
#16 Mysterious Shrine

Enter into the Mysterious Shrine and use the warp tile to continue through to the next section.
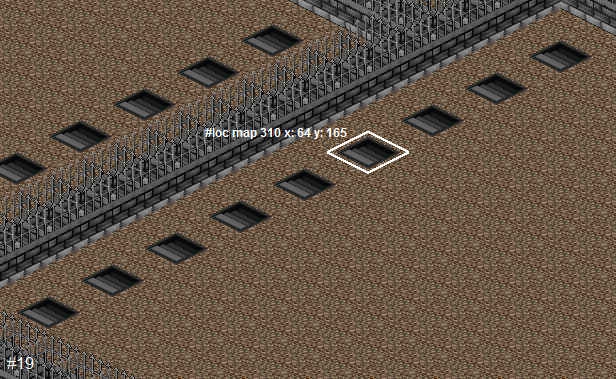
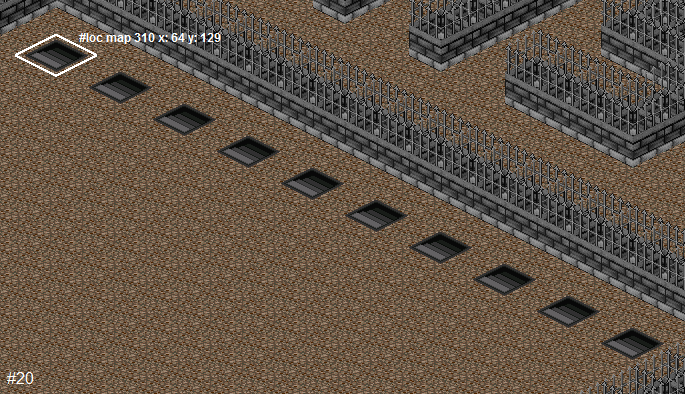
#17 No Walls

After you have been warped from the Mysterious Shrine, you have to walk up along the path and then follow it towards the right to the start point of this section.
You will walk past the Beast Villa area on your way to the start point.
Walking down from where you warped just leads to a dead end.
Start point, map 310 x: 215 y: 32 - use #loc to find the point.
From Start, hold D to #loc x: 215 y: 116, L L, hold U till you are against the wall, L L L L, U U, L 14, hold D, R R R R R, hold D, L L L L L L, hold D, R R R R R,
hold D to #loc x: 199 y: 113, hold L, hold U to #loc x: 189 y: 83, hold L,
hold D to #loc x: 180 y: 118, L 17, hold U, R 7, hold U, R R R R, U 13, hold L, hold D,
L 7, hold U to #loc x: 156 y: 40, L 14, hold D to Finish.
#18 Mysterious Shrine

Enter into the Mysterious Shrine and use the warp tile to continue through to the next section.
#19 Between the Pillars

From Start, L 4, U L L D L U, L 4, D L D L D R D D L U L L, hold U to wall, R U U R R U L L L U U U R D R R U R U R R D R R U R R D D R U R R D D R R U L U R U U L L D L L U L U, walk left through the pillar, D L U L L D L U L.
#20 Mysterious Shrine

Enter into the Mysterious Shrine and use the warp tile to continue through to the next section.
Reminder - make sure you are up to the correct checkpoint, if not just PM an admin for help.
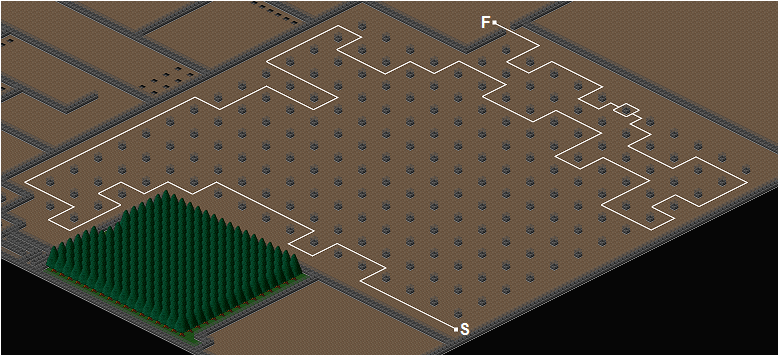
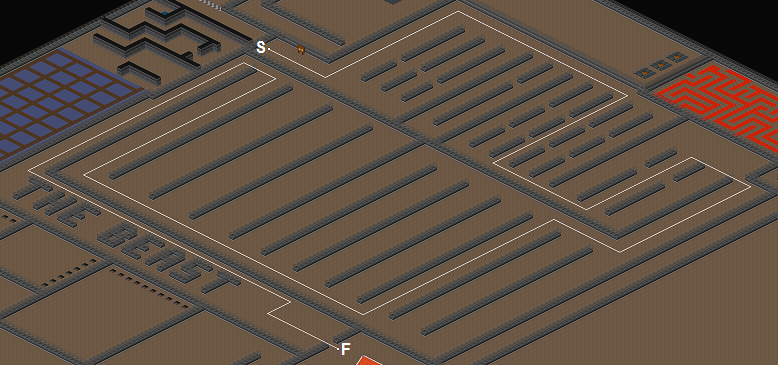
#21 Mutating Maze

In this section, the paths mutate which cause you to warp back to the beginning if it is the wrong path at that point in time, so you must find the correct path to continue.
The path within this guide may cause you to be warped to the beginning of this section, if that happens, keep trying the same path until you find that you have made it through.
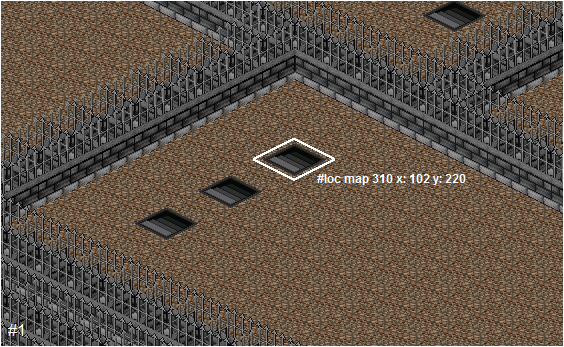
Start point, map 310 x: 29 y: 54 - use #loc to find the point.
From Start, walk right until you reach #loc x: 43 y: 54, walk up from that location until you reach #loc x: 43 y: 21, if you have been warped back to the beginning while trying to get to this point, keep trying until you get through.
From #loc x: 43 y: 21, walk right until you reach #loc x: 85 y: 21, from this location walk down until you reach #loc x: 85 y: 55, from this location walk right until you reach
#loc x: 108 y: 55, from this location walk up until you reach #loc x: 108 y: 28.
At this point walk right and you will pass through an opening, at which you should be
around or at #loc x: 123 y: 28.
From #loc x: 123 y: 28, walk down until you reach the next rows at #loc x: 123 y: 62.
From there, walk left until you reach #loc x: 106 y: 62 and walk down until you reach #loc x: 106 y: 109. From this point, walk left until you hit the wall in the corner and walk up to the end of that row.
You will see another opening to the left, walk through and continue down that row.
While walking down you will pass by the Bad Bridge with the water, continuing further you will also come across letters that form 'THE BEAST'.
Continue right past that and you will find the finish to this section.
Thanks to Errors and Modifier for figuring this one out.
A video guide of #21 Mutating Maze for further guidance.
#22 Mysterious Shrine

Enter into the Mysterious Shrine and use the warp tile to continue through to the next section.
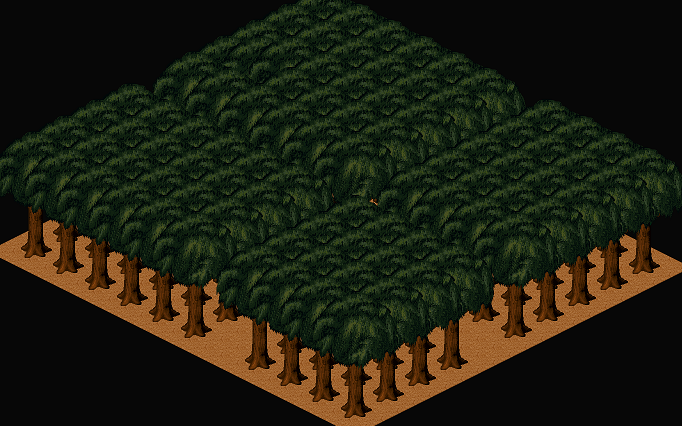
#23 Lost Woods

Hold U until you have warped, hold L until you have warped, hold D until you have warped and hold L again until you have warped.
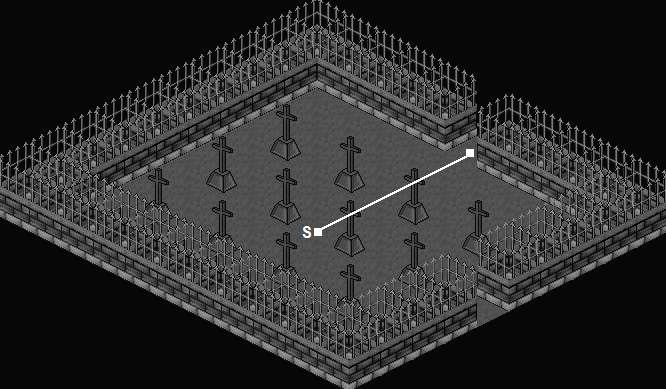
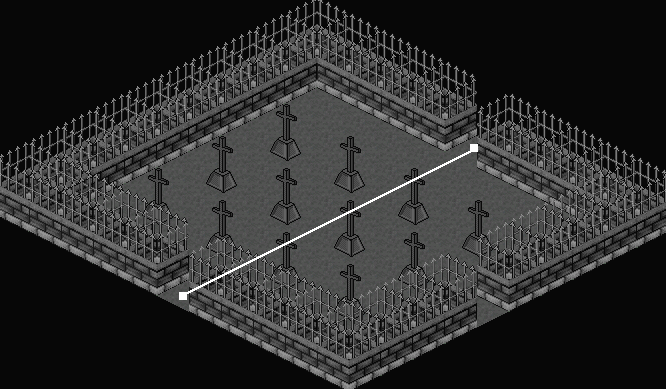
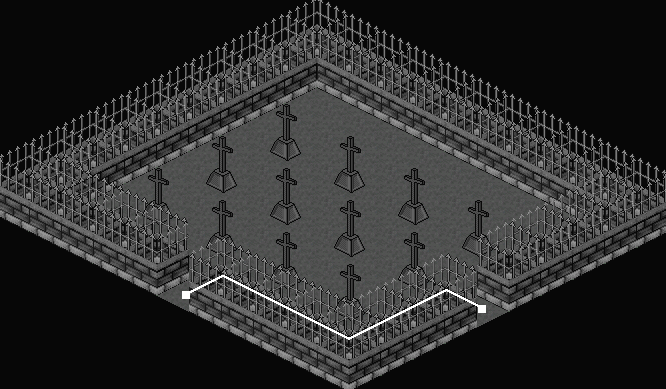
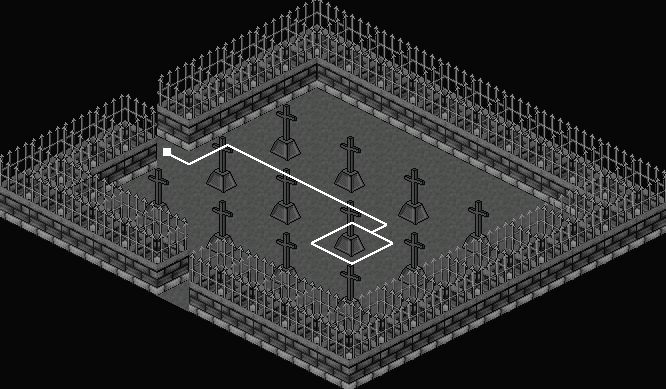
#24 Graveyard

From Start, you have to walk and enter the top exit, enter the top exit once again, enter the right exit and walk onto the grave shown below in the last graveyard map.
Ultimately, U U R, walk onto the grave.
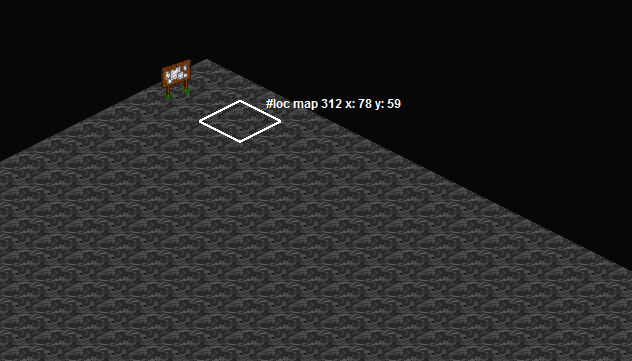
#25 Hidden Signs

In this section there are invisible signs that you must click on in order to find the direction to the finish. The following directions are by which the signs say.
The visible sign writes that you must go right 11 times, but that is from where the sign is.
From the location that you've been warped into this section, you must walk right 9 times.
Start point, map 312 x: 78 y: 59 - use #loc to find the point.
From Start, R 9, D 20, U 4, L 7, D 9, R 13, D 12, L 7, U 21, R 4, U 5, L 7, U 2, R 9, D 1, R 7, D 25, L 4, D 5, U 1, R 2, L 9, U 3.
Also, which these directions in some parts you will backtrack your steps, for example going D 5 and then U 1, more or less that is seen as D 4.
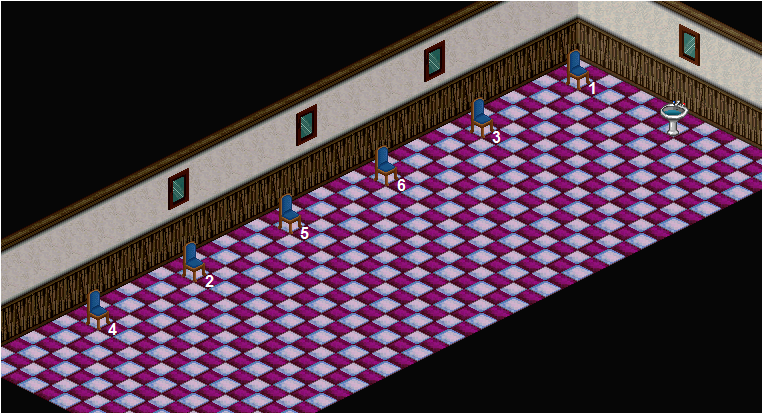
#26 Order of the Chair

Walk in front of the chairs in order of the numbers, from first to sixth. Be careful when walking to each chair not to cross in front of another number, otherwise it will reset and you will need to start over.
Walk in front of the chair first from the top, the chair second from the bottom, the chair second from the top, the first chair from the bottom, the third chair from the bottom and last the third chair from the top.
#27 The Cage

From Start, D R R D D R R D D R R D D L D D, L 5, D D R R R R D D, hold R, hold U, L U U U U R R R.
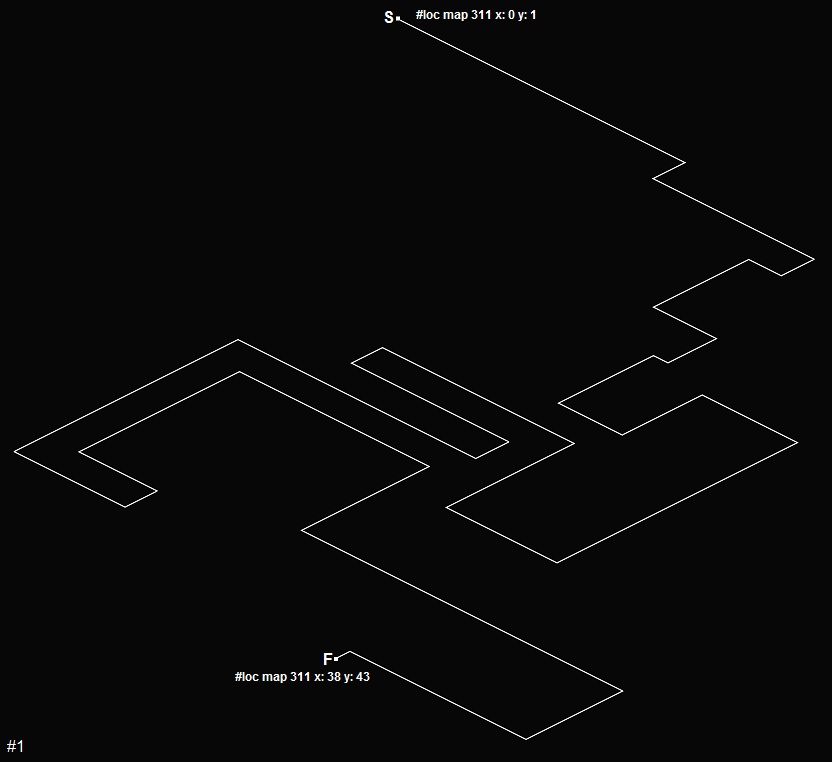
#28 Black Hole

In this section it is very important to follow the directions carefully so that you don't get lost. There are ten different parts to this section, you must warp before being able to continue onto the next part, so you will warp ten times in total.
Once you have exited the Black Hole use the stairs to continue to the next section.
#1 Start point, map 311 x: 0 y: 1 - use #loc to find the point.
From Start, R 18, D 2, hold R, D 2, L 2, D 6, R 4, D 3, L 1, hold D, R 4, hold U, hold R, hold D, hold L, hold U, hold L, D 2, hold R, D 2, hold L, D 14, R 7, U 2, L 5, hold U, hold R, D 8, R 20, D 6, hold L, D 1.
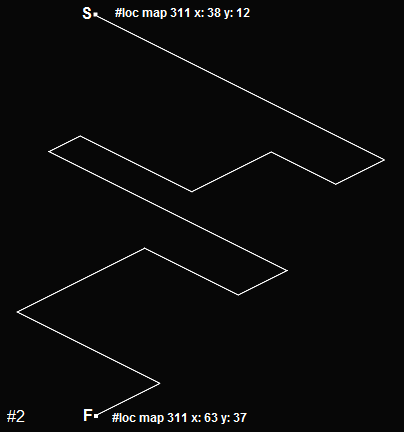
#2 Start point, map 311 x: 38 y: 12 - use #loc to find the point.
From Start, hold R, D 3, hold L, hold D, L 7, D 2, R 15, D 3, hold L, D 8, R 9, D 4.
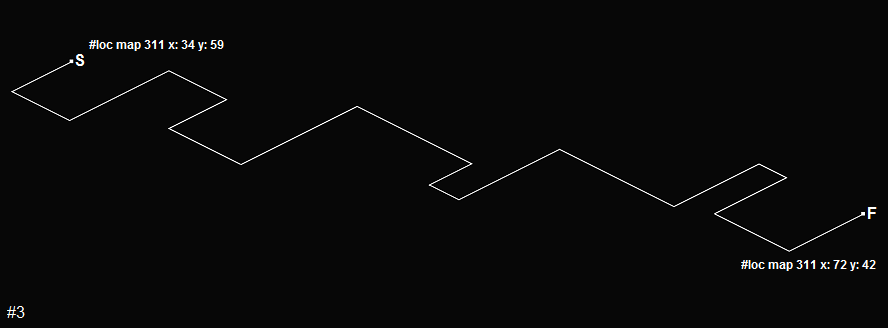
#3 Start point, map 311 x: 34 y: 59 - use #loc to find the point.
From Start, hold D, hold R, hold U, hold R, hold D, hold R, hold U, hold R, D 3, R 2, U 7, hold R, hold U, R 2, D 5, hold R, U 5.
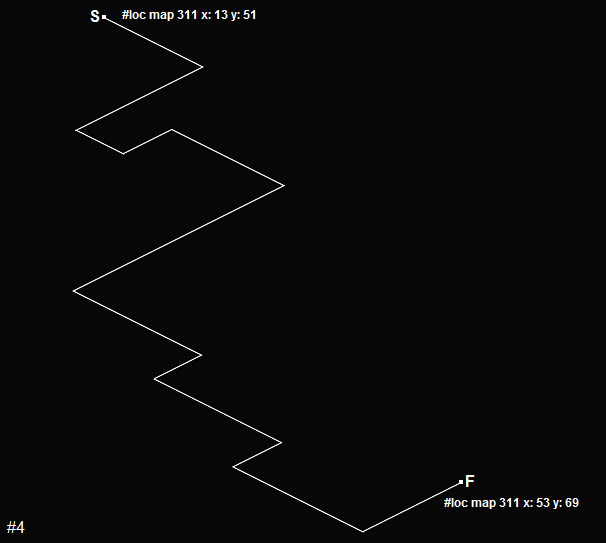
#4 Start point, map 311 x: 13 y: 51 - use #loc to find the point.
From Start, R 6, D 8, R 3, U 3, R 7, D 13, R 8, D 3, R 8, D 3, hold R, U 6.
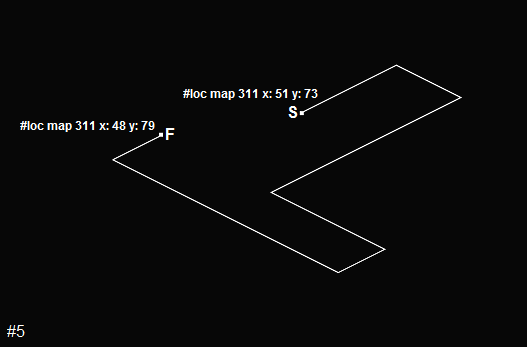
#5 Start point, map 311 x: 51 y: 73 - use #loc to find the point.
From Start, U 6, R 4, D 12, R 7, D 3, L 14, U 3.
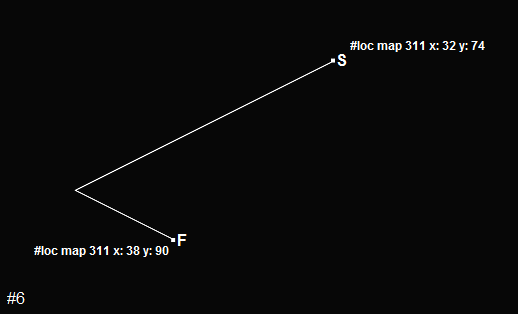
#6 Start point, map 311 x: 32 y: 74 - use #loc to find the point.
From Start, D 16, R 6.
#7 Start point, map 311 x: 5 y: 76 - use #loc to find the point.
From Start, D 2, R 8, D 9, R 4.
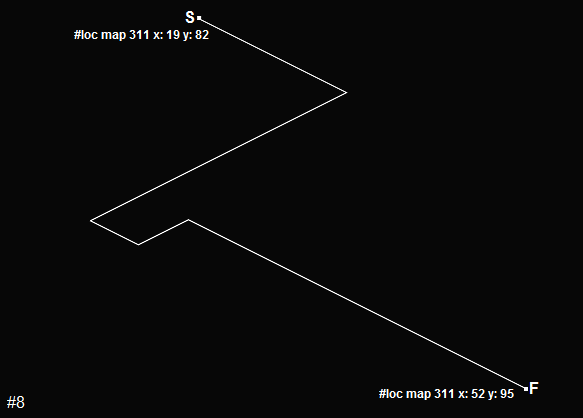
#8 Start point, map 311 x: 19 y: 82 - use #loc to find the point.
From Start, hold R, D 16, R 3, U 3, hold R.
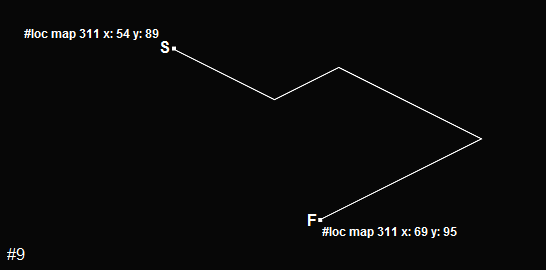
#9 Start point, map 311 x: 54 y: 89 - use #loc to find the point.
From Start, R 6, U 4, R 9, hold D.
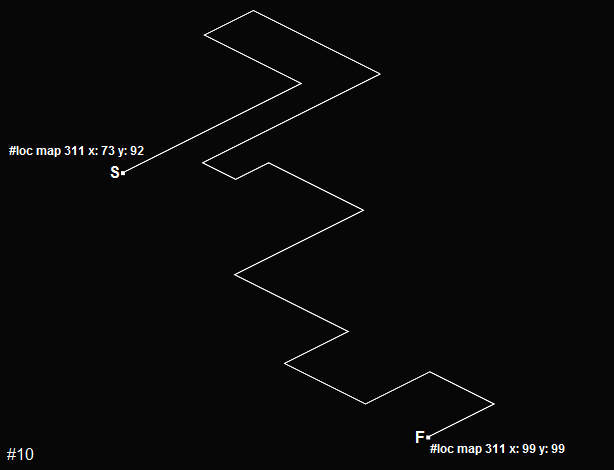
#10 Start point, map 311 x: 73 y: 92 - use #loc to find the point.
From Start, U 11, L 6, U 3, R 8, hold D, R 2, U 2, R 6, D 8, R 7, hold D, R 5, U 4, hold R, D 4.
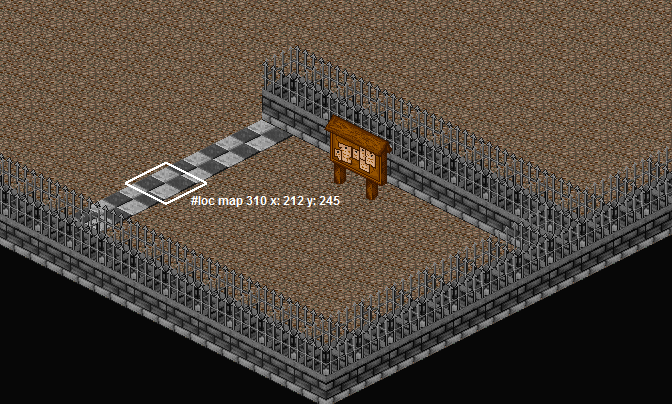
#29 Lost Exit

In this section you will receive private messages as you go along, so you are directed the whole way through via messages, but regardless here are the directions.
Start point, map 310 x: 212 y: 245 - use #loc to find the point.
From Start, L 13, U 24, R 15, D 8, L 20, D 17, L 3.
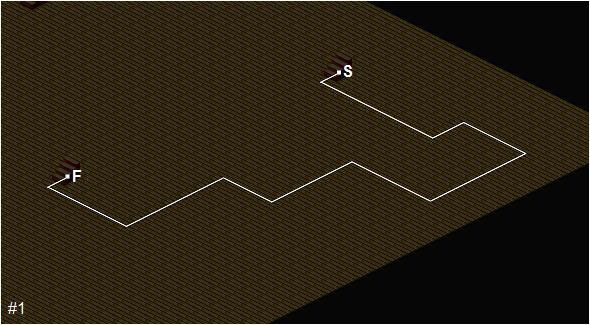
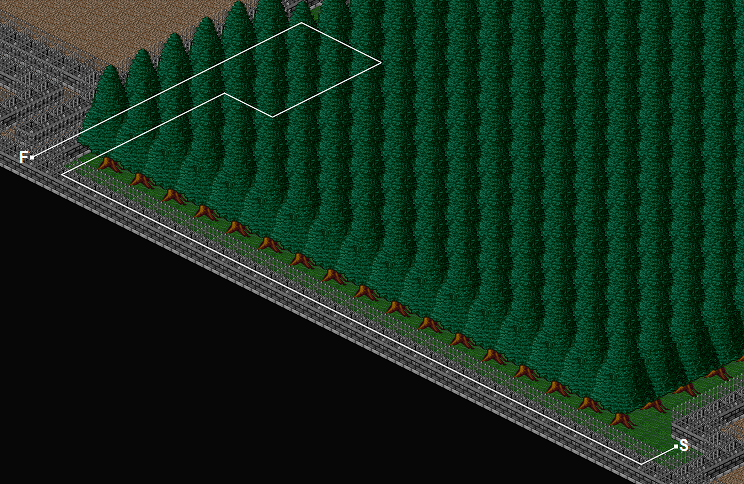
#30 Pine Maze

From Start, D D, hold L, U 10, R R R, U 7, L 5, hold D.
Reminder - make sure you are up to the correct checkpoint, if not just PM an admin for help.
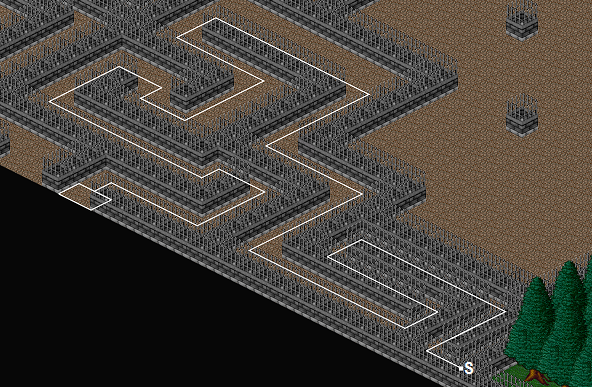
#31 The Final Maze?

There are no tricks in this maze, it is just a straight forward path that you follow.
But for the purpose of leading through, here are the directions.
From Start, L U L D R D L U L U L D R D L U L D R U R D D D L U L U L D R D L U L D R U R D L D.
Once you exit the maze, you enter a dead end with stairs, use the stairs to continue.
#32 Redemption Denied

You are now at the last section of the maze, the only way to continue to the finish is to log out and re-log back in.
Talk to the Beast Master
Walk up and talk to the Beast Master to claim your prize.
75k experience or Vampire Costume [male] or Vampira Costume [female].
Congratulations! You have completed the Beast.